Updating Firmware over USB
This page installs the latest firmware and web interface on a regulator over USB from Chrome or Edge browser. This is the first step of a new installation, or to be done anytime later as a reset/recovery.
Unplug everything except the USB cable tethered to the computer.
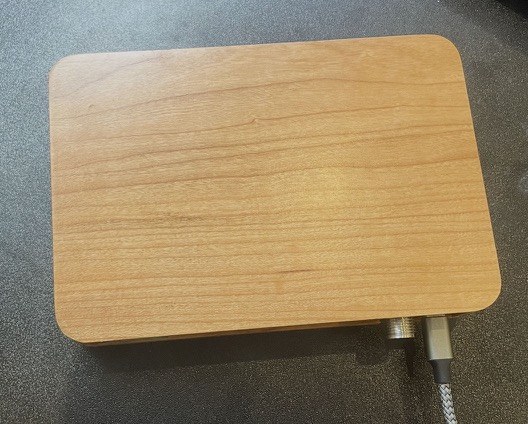
Procedure
- Engine off. Unplug everything from the regulator (all plugs).
- Connect a USB-C data cable between the regulator and a laptop or desktop running Chrome or Edge. Safari, Firefox, phones, and tablets cannot reach USB serial ports at all.
- Press the "Click here to Reinstall Firmware" button above.
- Your browser opens a small popup listing serial ports. Select the regulator (Windows shows it as "USB JTAG/serial debug unit", macOS as "cu.usbmodem…") and click Connect. If no device ever appears in that list, the cable is the first suspect: some charge-only USB-C cables look identical but carry no data.
- Finish by following the on-screen instructions.
If the installer asks whether to erase the device, leave "Erase device" unchecked. Unchecked, the install keeps your settings and your cloud account link. Checked, it wipes them (see What is kept, what is replaced in the appendix).
Writing and verifying the firmware takes a few minutes, most of it downloading the release from our server, so a slow connection is a slow install. When the installer says it is done, unplug the USB cable. The regulator restarts on the new firmware and rejoins your WiFi on its own. No reconfiguration is needed.
The regulator reports its running firmware version to the cloud every time it boots, so your cloud dashboard reflects the new version automatically the next time the regulator is online (Live Data → ESP32 → System Overview → Software Version).
Note
The installer itself also sends X Engineering a short report of each attempt: the regulator's serial number, the firmware version before and after, whether the install succeeded, and the installer's own progress and error messages. If an install fails, that report is already on file, so an email saying roughly when you tried is enough to start diagnosing it. The privacy policy describes exactly what it contains.
Next step
New installation: with current firmware on the unit, carry on with Unboxing and Physical Installation. From here on the regulator stays where it is mounted and updates itself over WiFi.
Troubleshooting
Nothing in the port list. Swap in a known data-capable USB-C cable, try a different USB port, and unplug/replug. Close anything else that might be holding the Serial port open (the Arduino IDE's serial monitor is the usual culprit), then click the button again.
"Failed to open serial port." The browser could not take control of the port you picked. This is almost always right after an install: the regulator restarts at the end, so its USB connection drops and comes back as a new port, and the old one no longer opens. Unplug the USB-C cable, plug it back in, and click Click here to Reinstall Firmware again, choosing the port that appears now. Nothing is lost. An install that reached Installation complete is already written and verified. If it still will not open, close anything else using the port (the Arduino IDE serial monitor) and any installer window left open on this page.
The install fails partway through. Unplug the cable, plug it back in, and run the same button again. An interrupted install is always recoverable: the regulator's USB install channel is built into the chip itself and works no matter what state the firmware is in, so retrying the button always gets a clean second attempt.
The browser crashes right as the install finishes (Mac). A known Chrome/Edge bug on macOS, triggered when the regulator restarts at the end and its USB port disappears. By the time the progress bar reaches 100% the new firmware is already fully written and verified, so nothing is lost: reopen the browser, unplug the regulator, and carry on. Your cloud dashboard will confirm the new version the next time the regulator is online.
Support asked you for the installer's log. Run the button again, and in the installer window choose Logs & Console instead of the update row, then Download Logs. Email the file to joe@xengineering.net.
The browser shows the "not supported" message. You are on Safari, Firefox, or a phone/tablet. This procedure needs Chrome or Edge on a laptop or desktop.
The regulator seems dead afterwards. Power-cycle it (its normal power, not just the USB cable). If it still does not come up, press Click here to Reinstall Firmware once more. If that also fails, email joe@xengineering.net.
Appendix
USB updates vs. OTA updates
Both paths work, and both install the same release to the working memory partition.
The difference is that this browser path also updates the separate "factory golden" partition that the app falls back on during OTA updates and if there are any problems with the normal working partition.
| Over-the-air, from the app dashboard | This page, over USB | |
|---|---|---|
| What it needs | WiFi. No cable, no computer | A laptop with Chrome or Edge, a USB-C data cable |
| Running firmware | Updated | Updated |
| Dashboard web files | Updated | Updated, both copies |
| Built-in recovery copy | Never touched, by design | Updated |
| Low-level startup components | Never touched | Updated |
| Works on a unit that will not boot or will not join WiFi | No | Yes |
So: flash over USB once, at installation. After that, use over-the-air updates as normal, and repeat this USB procedure only in extraordinary circumstances.
Technical detail on the two-copy design, signature verification, and boot selection: Over-the-Air Updates.
What is kept, what is replaced
Replaced: the firmware (both the running copy and the recovery copy), the low-level startup components, and the web interface files.
Kept: everything you have put into the XREG-010 (when this isn't a brand new unit). That means all settings, calibration, commissioning results, logged history, WiFi credentials, and the link to your cloud account. After the reinstall the regulator starts up exactly as it was, just on current firmware.
One important choice during the install: on some units the installer asks whether to erase the device first. Leave that box unchecked if you want to keep the above list. Erasing wipes all settings and the regulator's link to your cloud account, and restoring that link requires contacting joe@xengineering.net. It is not something you can redo yourself.
If you also want a clean-slate settings reset, do that separately after the reinstall, from inside the app: Setup → System → Security & Maintenance → Erase All Memory → Restore Defaults. That erases settings, WiFi credentials, and calibration while deliberately preserving your cloud account link. See Cloud Account Management.